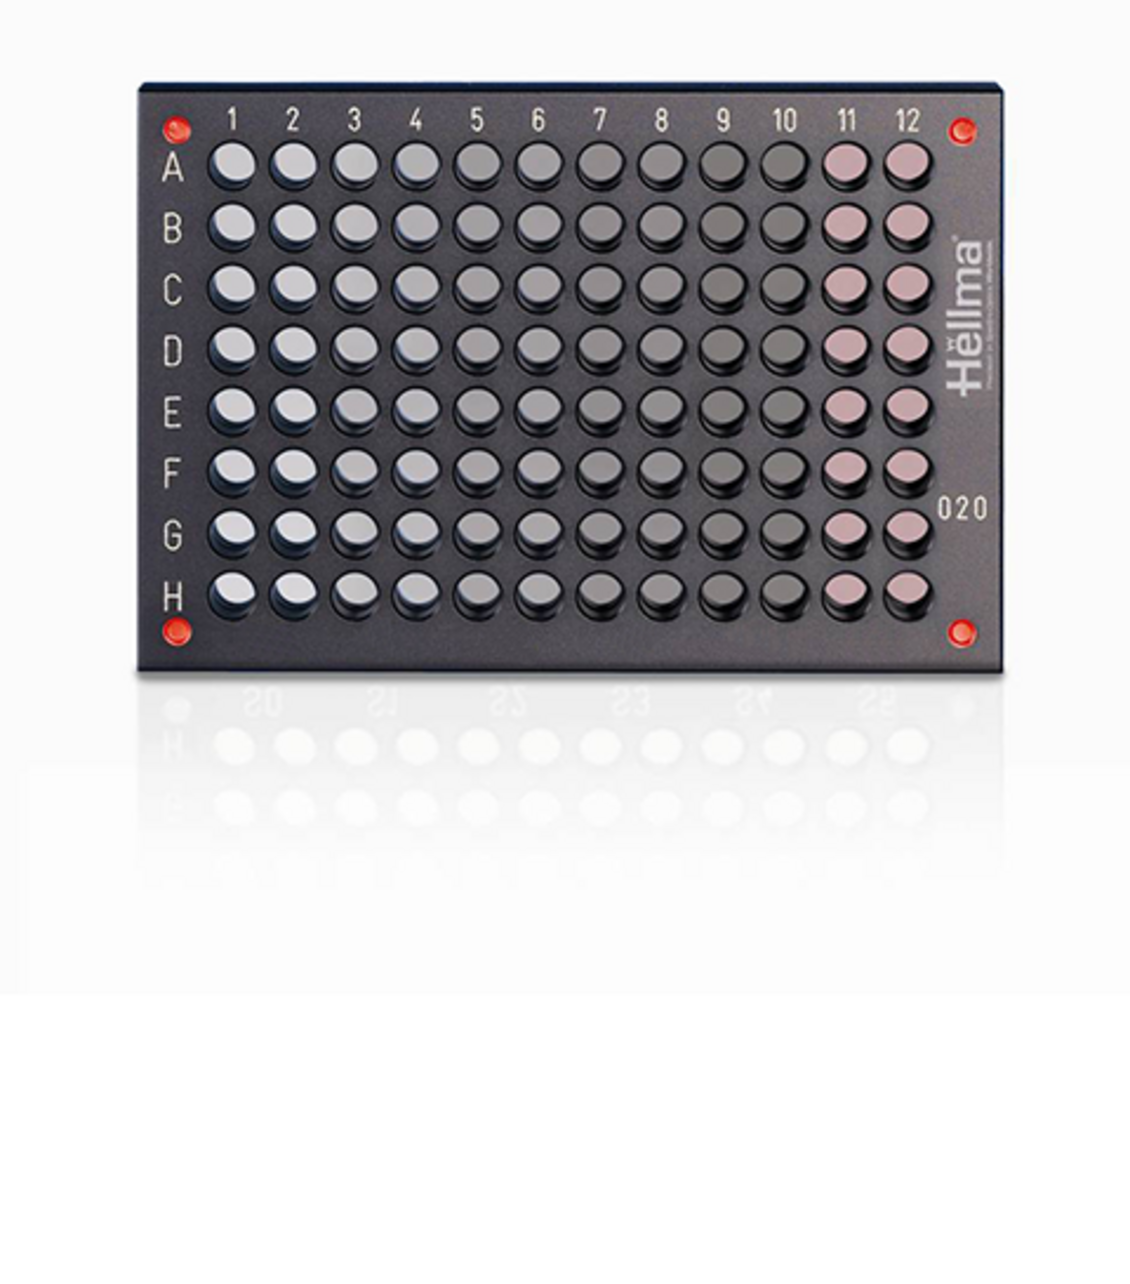

With the reference plate 666R113 from Hellma Analytics the photometric and wavelength accuracy of microplate readers can be checked.
The reference plate has the same dimensions as a microplate with 96 wells and a 6.6 mm diameter per window (H 13.0 x D 127 x L 85.5 mm).
Each of the four neutral density glasses used (columns 3 – 10) can measure the absorbance value for 16 windows. The Holmium glass (column 11+12) is used to check the wavelength accuracy in 16 windows while a further 16 windows (columns 1+2) do not contain glass and serve as references.
The reference plate consists of four neutral density glasses with different nominal absorbance values. Therefore the linearity of the absorbance scale can be checked by plotting the absorbance values for each wavelength in a diagram against the measuring values on the calibration certificate.
| Article-No. | 666R113 Request this article |
|---|---|
| Application | Reference plate for microplate readers for checking the photometric and wavelength accuracy |
| Content | Column 1+2: empty - reference Column 3+4: ND with 0.5 Abs Column 5+6: ND with 1.0 Abs Column 7+8: ND with 1.5 Abs Column 9+10: ND with 2.0 Abs Column 11+12: Holmium glass |
| Standard Certification | Photometric accuracy certified with DAkkS calibration certificate at Wavelengths: 405, 450, 490, 650 nm; at 8 Points in a row Slit width: 1 nm; Wavelength accuracy certified with DAkkS calibration certificate at Wavelengths: 279, 361, 453, 536, 638 nm Slit width: 1 nm |
| Possible certification | Photometric accuracy possible at: Wavelengths: all possible between 405 bis 800 nm, Slit widths: all up to 2 nm possible; Wavelength accuracy possible at: Wavelengths: 279, 287, 361, 418, 445, 453, 460, 536, 638 nm Slit width: 1 nm up to 2 nm |
Control charts, such as e.g. target value charts are used to graphically display measured values. Here, the value specified in the Hellma Analytics calibration certificate is used as the target value. All measured values must be within the range of the measurement uncertainty, otherwise there is an out-of-control situation.